
Installing on macOS
The following are the EDR and NAC software installation instructions for macOS Operating System. Keep in mind that the installation will not work properly if you are not connected to campus with a LAN cable. Do not install on private or home computers.
NAC System Installation
Download Installation file for macOS
Download the file and save it on your computer.
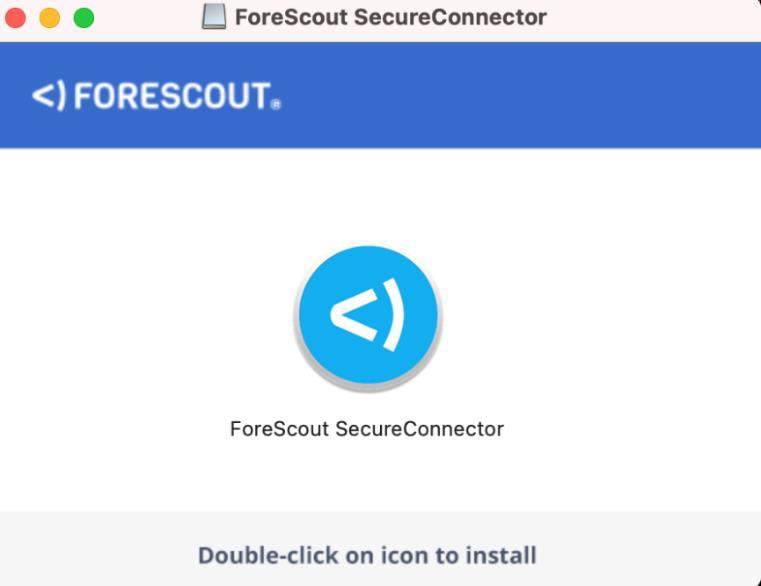
After downloading, open the installation file by clicking the DMG file.

On the desktop you will see the following icon:

Start the installation software as seen in the following screen:
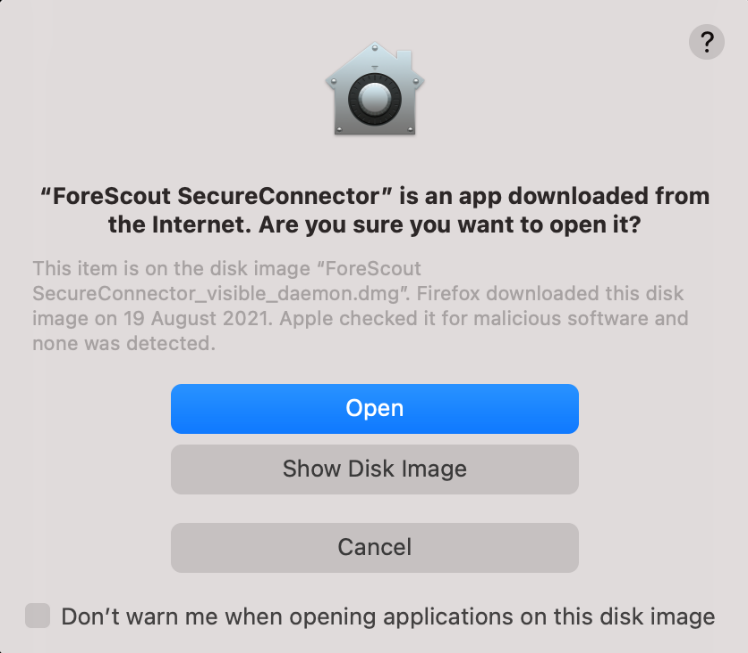
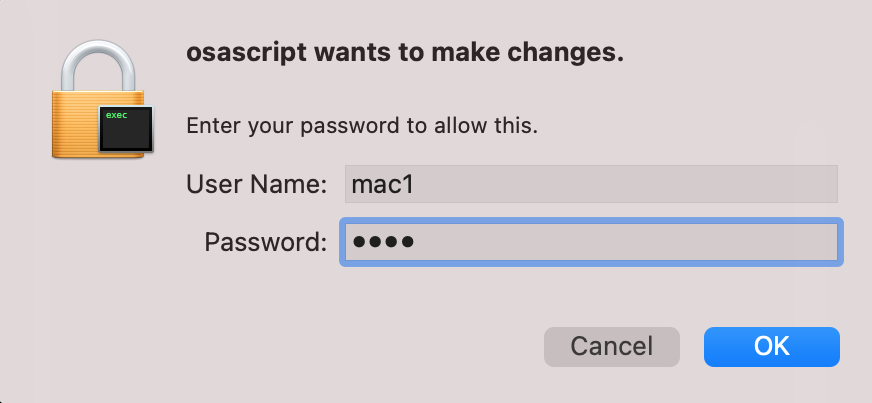
After you start the installation press Open and in the next screen enter the computer's password
How do you know the software is installed successfully?
After the installation is completed you will see the blue icon on the right side of the menu line as shown below:

EDR System Installation
Note: The software can be installed on computers running (10.15) or higher. It is recommended to use system version 11 and above. In order to install the software, the computer must have a password. If the computer does not have a password, it can be set as described in the following link:
https://www.youtube.com/watch?v=Lg2AMKHmgcA
Download Installation file for macOS
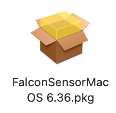
Download the installation file named FalconSensor7.03.17401.pkg
After downloading the file, follow the following instructions:
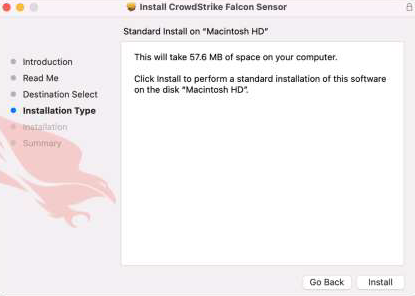
Run the installation file and continue as explained in the installation windows.
When the installation is complete, open the Terminal software (located in the Applications/Utilities folder).
In the terminal window, copy and paste the following command and press enter:
sudo /Applications/Falcon.app/Contents/Resources/falconctl license 24E96F03F42840719A7F1DC3287E03B9-59
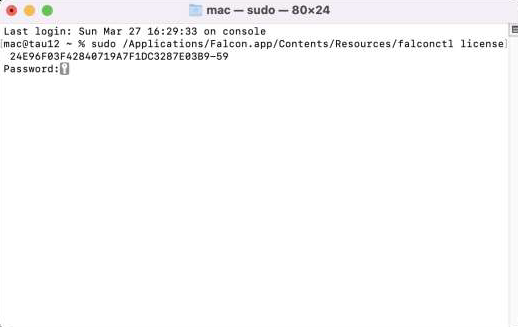
You will be asked to enter the computer password. Enter the password and press enter.
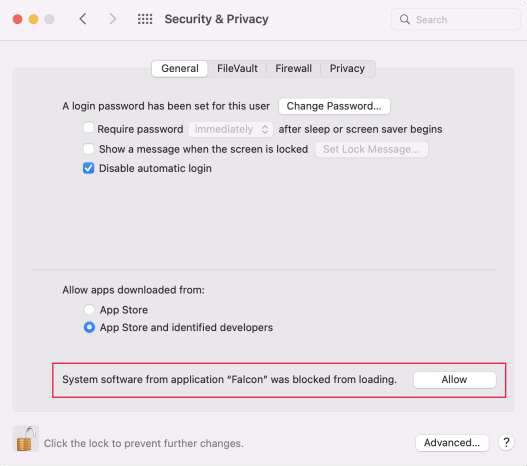
At this point the following window will appear:
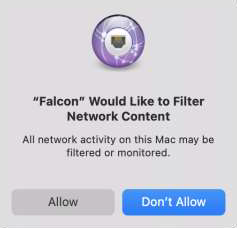
Click the Allow button. The following window will then open:
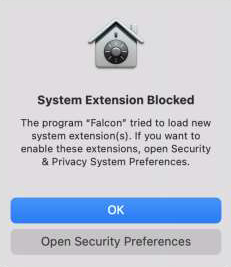
Click the Open Security Preferences button.
In the window that opens, click on the lock in the lower right corner and enter your computer password.
Then, click the Allow button and the line will disappear.
If the line marked in red and the button do not appear, you can type the following command in the Terminal software window to make it appear:
sudo /Applications/Falcon.app/Contents/Resources/falconctl load
The software must now be given permission to access the hard disk.
Click the Privacy tab at the top of the window (marked in blue in the next window). In the left column, select Full Disk Access as seen in the following window:
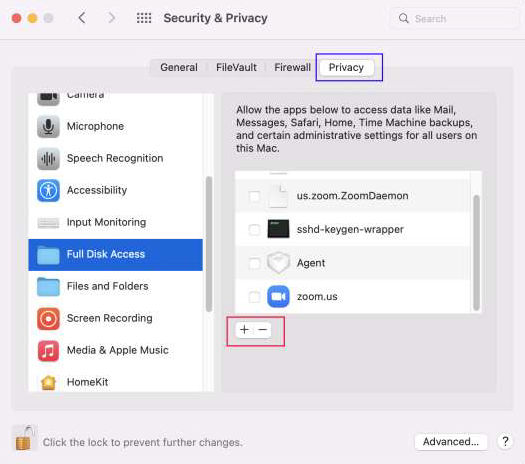
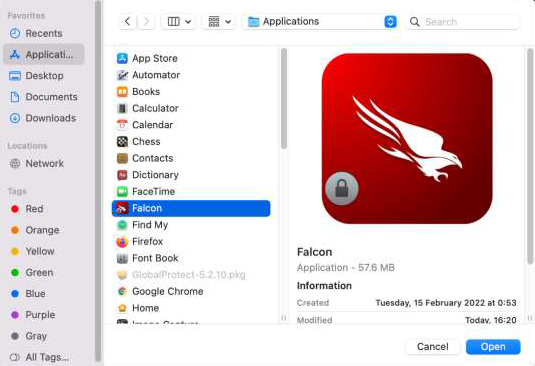
Now click on the plus sign marked in red in the window above. In the window that opens, navigate to the Applications folder, highlight the Falcon software and click the Open button.
As you can see in the next window, the Falcon icon will be added to the Privacy window and the square next to it will be highlighted.
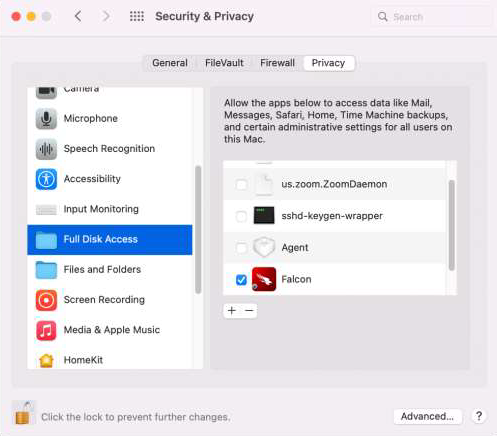
Installation completed.
How do you know the software is installed successfully?
You can check if the software is active by typing the following command in the Terminal window
sudo /Applications/Falcon.app/Contents/Resources/falconctl stats