Setting up a computer on the wired network
In cases where it is necessary to connect a computer to the wired network (whether it is a laptop that has not yet been connected to the network, or a stationary computer that has not been connected for a long time and has lost its IP address) you need to send us a service call with the MAC address (physical address) of the computer, so that we can register it in our systems. The service call must also include details about the location of the computer (building, room) and who the head of the laboratory is. This guide explains how to find the MAC address on Windows 10 only
We remind you that new computers purchased from a university budget (not for personal computers bought with your own money) must pass through us before we configure them to the network unless they are Mac or Linux computers!
The MAC address consists of 12 characters of digits from 0 to 9 and letters from A to F.
The computer must be left connected to the network from the moment the MAC setting request is made until it gets an IP address, otherwise the computer will not connect (therefore, please make the request within a reasonable time during the day).
There are several ways to find the MAC address in Windows-based operating systems.
Route A: CMD
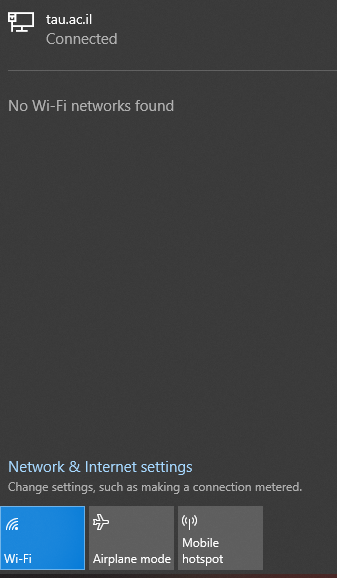
Note: Before using this method, please make sure that the computer is connected to a network cable and that the wireless network card in the computer is diabled otherwise you will see number of cards that you will not be able to identify.
You can quickly turn it off by clicking on the network button on the taskbar and clicking on the WIFI marked in blue (the mark will turn gray so you will know that WIFI is turned off)
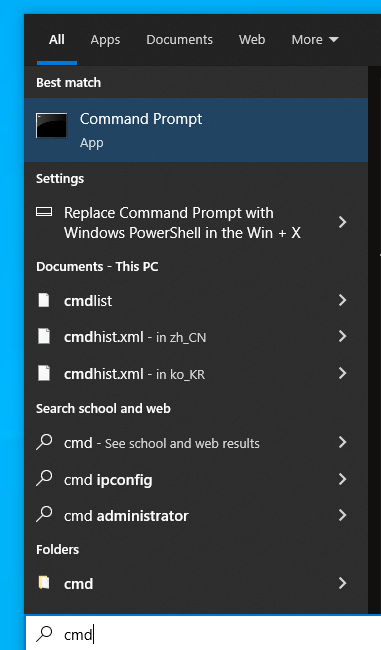
Press the START button and enter CMD in the search and select Command Prompt as shown in the image below
On the screen that appears, type the "getmac" command (without the quotation marks) and then press the Enter key.
You will get this screen:
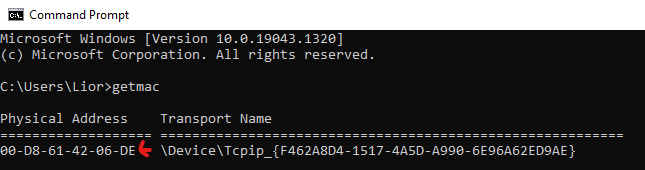
The correct card (if you did disconnect the wireless network card and left the network card connected with a network cable only) will be the one that is not listed on it that is not connected.
Route B: Network & Internet Settings
You can access Network & Internet settings in one of two ways - or by clicking the Start button, from there you can enter Settings and then Network & Internet.
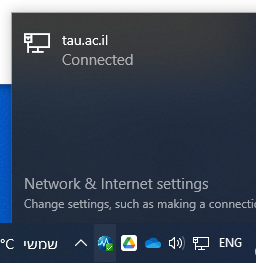
Alternatively, a faster way would be to click on the icon that appears next to the clock in the Taskbar (start bar) that looks like a computer screen or WIFI transmission (depending on whether you are on a wired or wireless connection). Clicking on this icon will show you an option to click on Network & Internet Settings to get there directly.
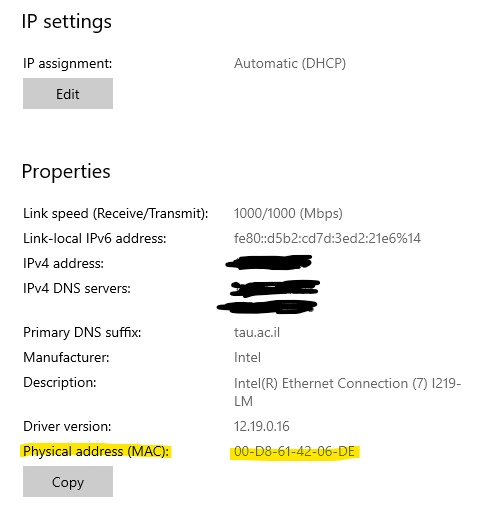
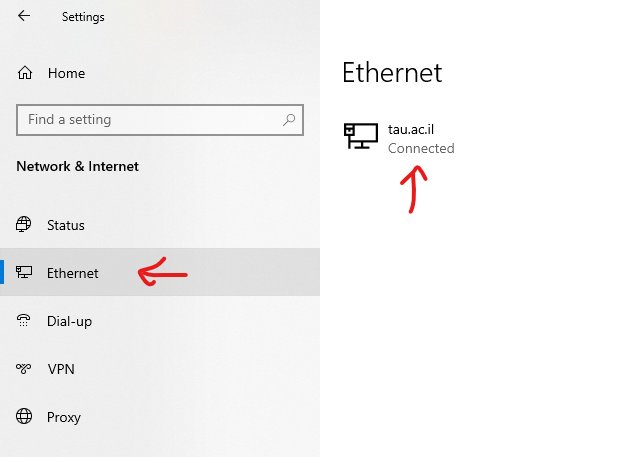
In the window that opens, go to Ethernet settings (on the left) and click on the wired network card that appears.
In the image below, since the network card is configured, tau.ac.il appears.
Your network card will probably be listed as Ethernet and the word Unidentified Network below it
In the next screen, scroll to the end and in the last row you will find the physical address.