
Installing the VPN Client on Windows
Step 3: Installing the VPN Client on Windows
You can perform this step only after completing the previous 2 steps.
Please note that some of the menus in the instructions are available only in hebrew. Please refer to the pictures in each step to know exactly where to press.
In order to install the client on Windows PCs please perform the following steps:
- Please use only the following browsers for the installation: Safari, Chrome or Firefox. Do not use Internet Explorer.
- Log in to MyTAU
- Perform the step as listed bellow:
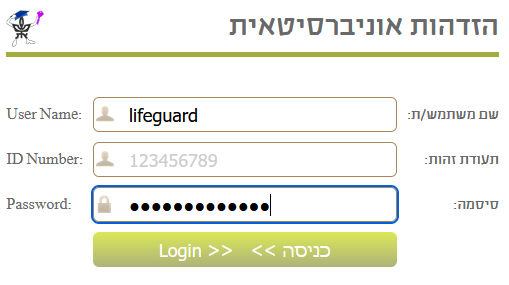
Log into MyTAU
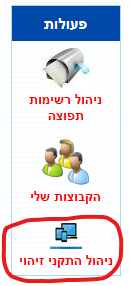
In MyTAU, go to "Manage my resources"

In the next section on the right side bar press "Management of identification devices"
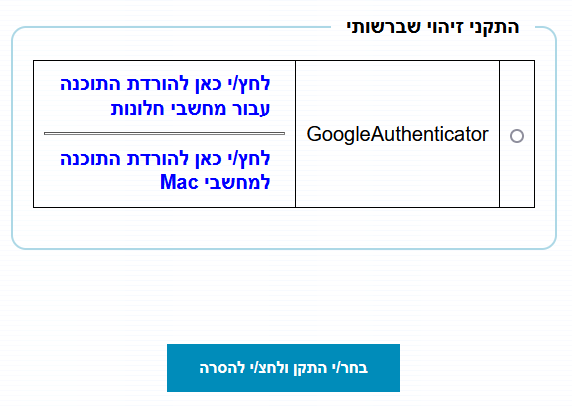
In the next screen you can see that you have 2 links for Google Authenticator. The upper one is for Windows installation while the lower one is for the Mac installation.
Choose the Windows Installation.
Download the file and after it finishes open it

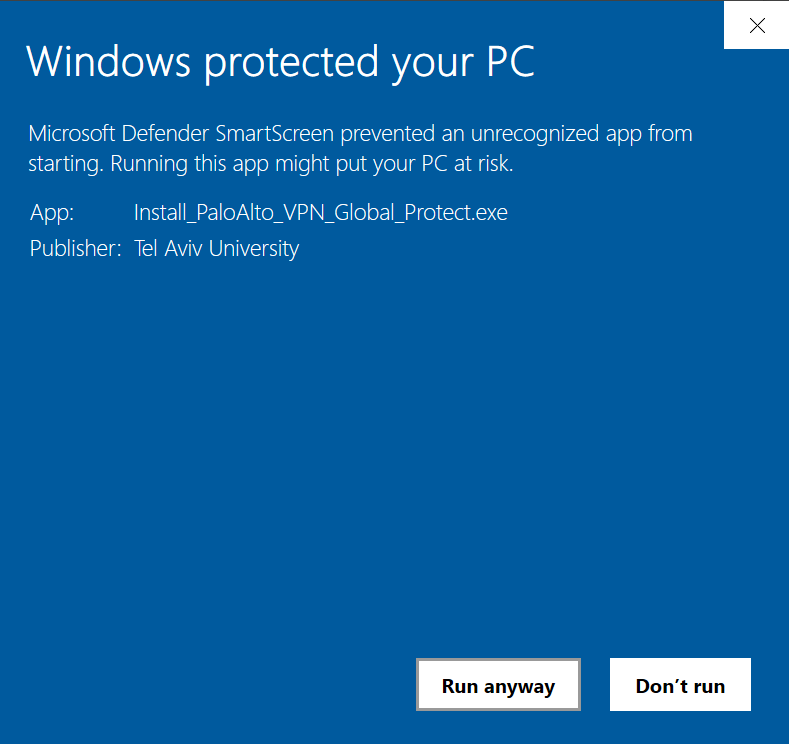
Once you open you will see a warning message. Press on "More info".
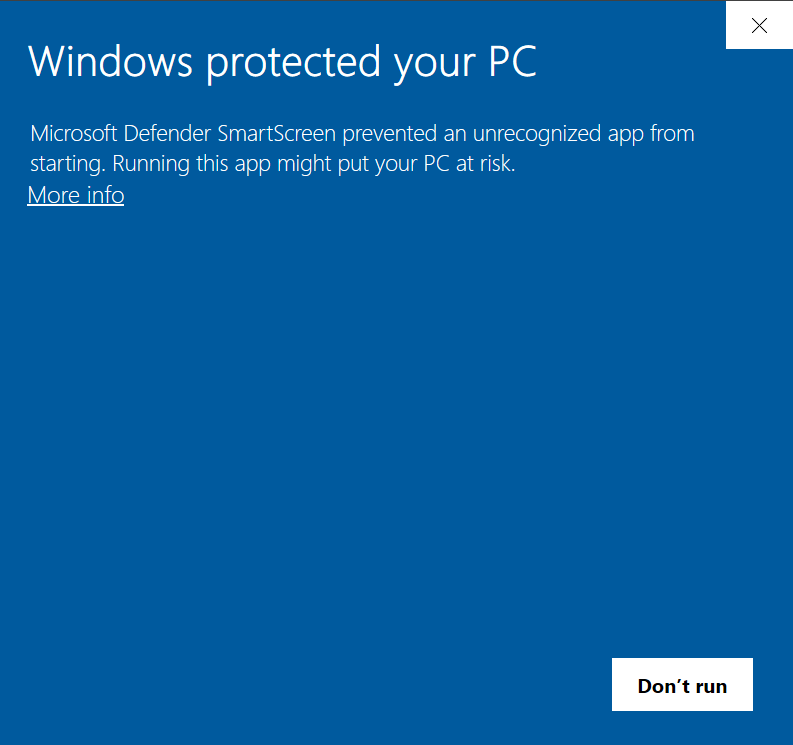
Now press on Run anyway
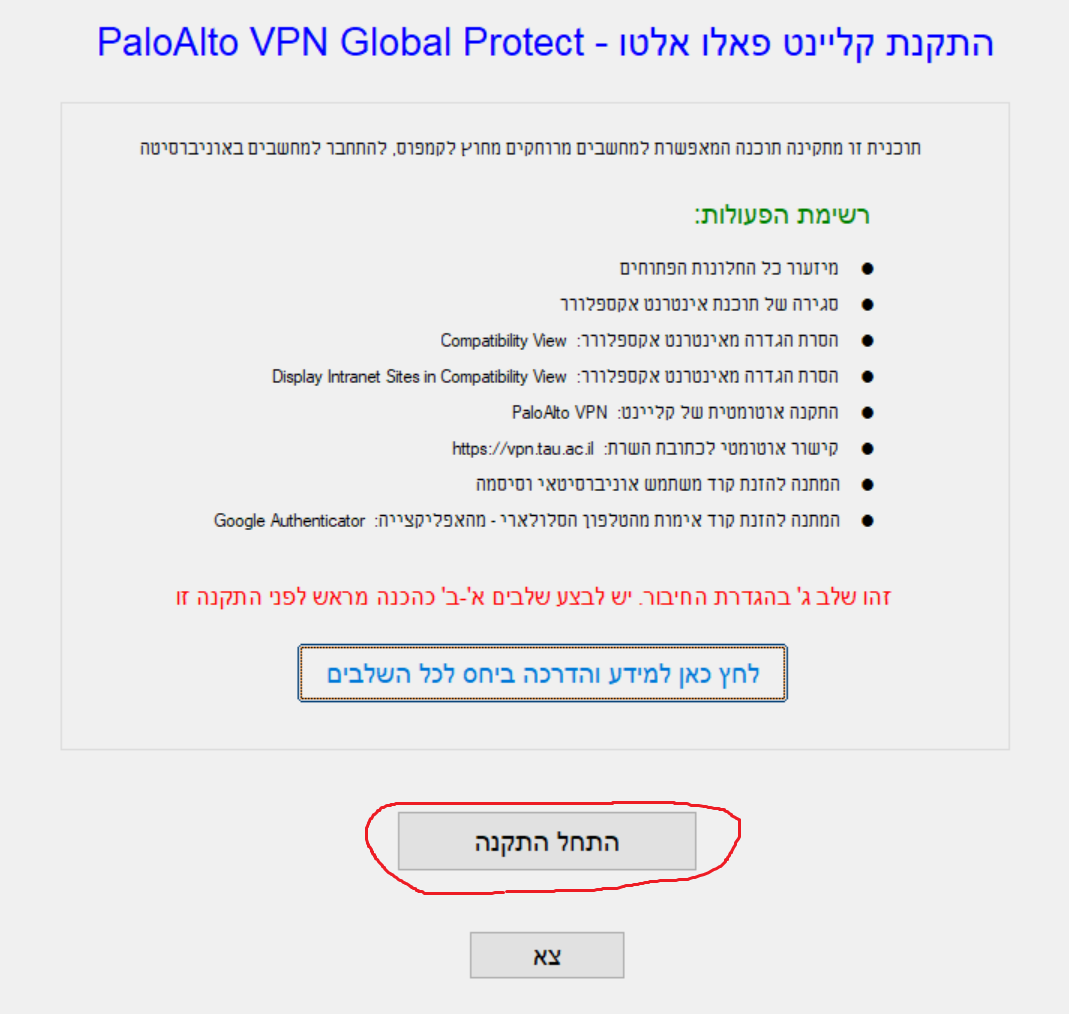
In the first screen in the installation press on the second from bottom button ("Start Installation")
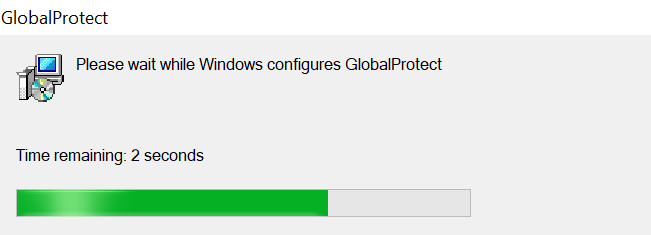
The installation will begin. During the installation process you will see a screen asking you if it's okay to proceed, allow it to proceed.
After the installation, the GlobalProtect VPN will auto-start

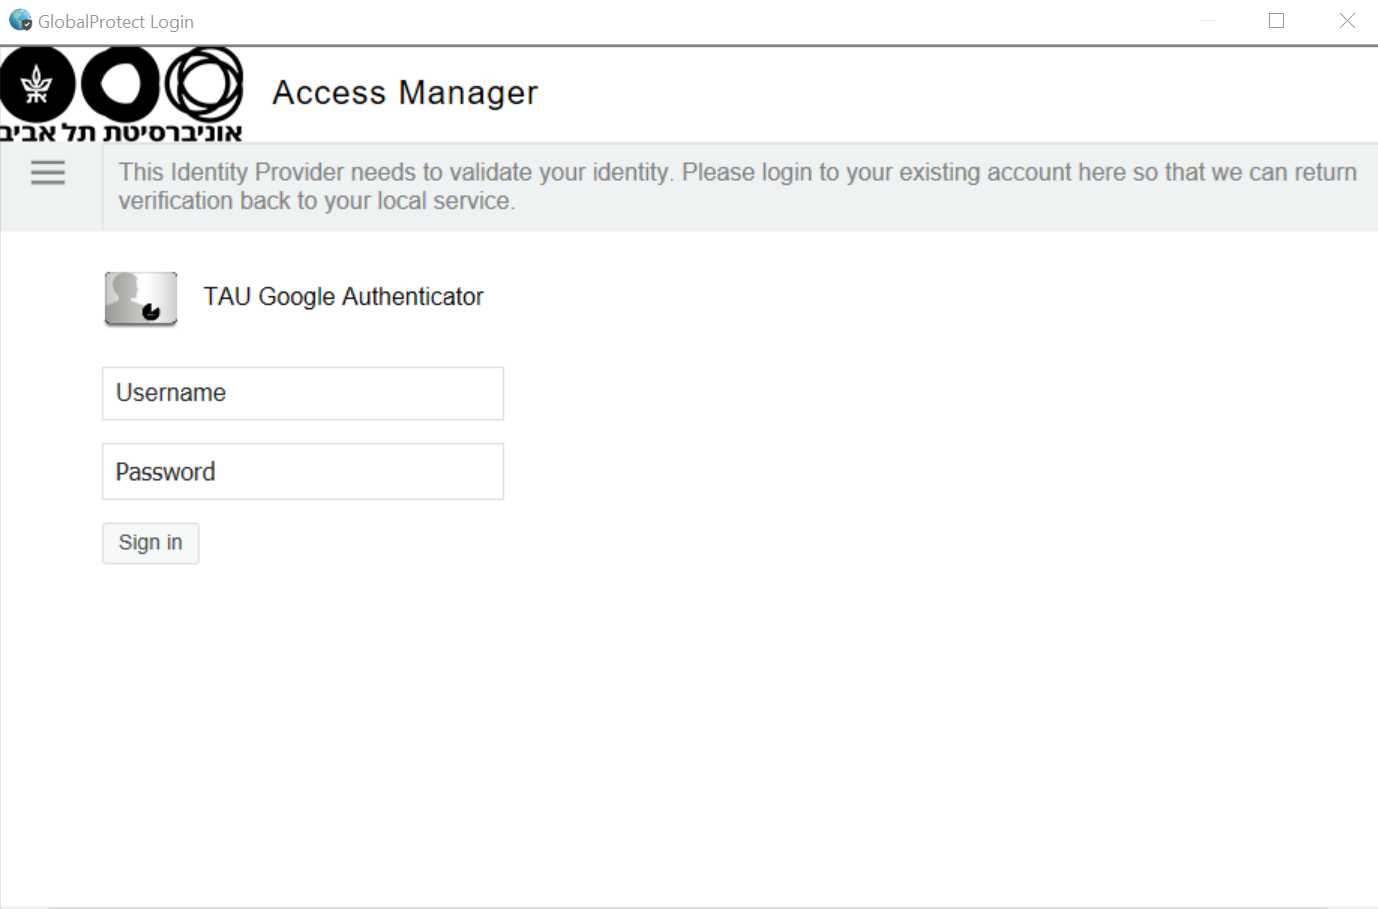
A window will popup with instructions
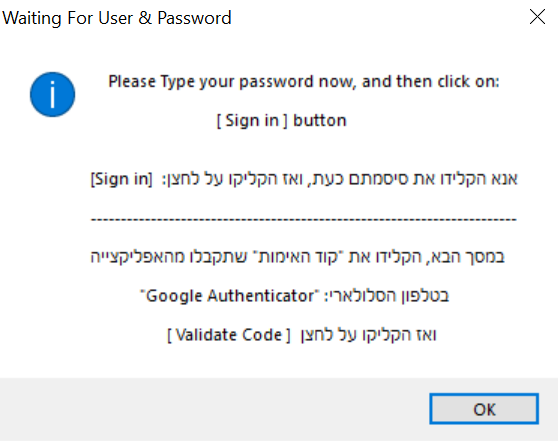
In the window fill in your university username & password and press Sign in
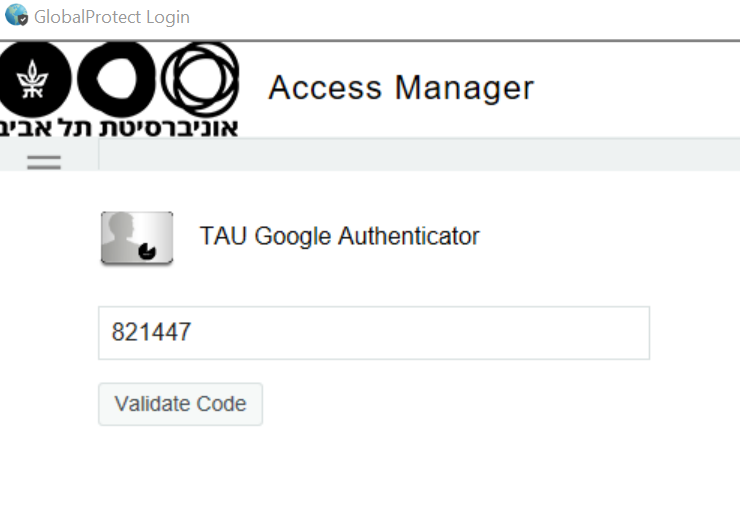
In the next window use your Google Authenticator app on the smartphone and write down the 6 digit password and press the Validate Code button
If it succeeds you should see a blue earth icon with a V sign in the taskbar near the clock area - which should confirm you're connected.
If you press on it you'll see the screen bellow: